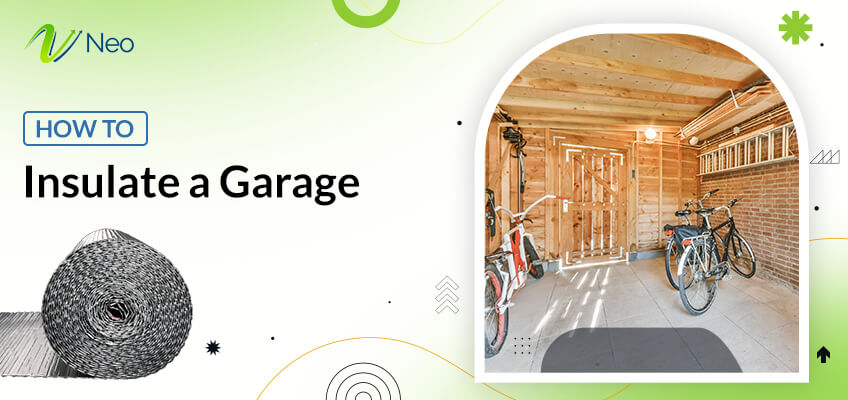
How to Insulate a Garage?
A garage is just an extra space for homeowners that may be used to park cars and store their necessary tools. But the garage has so much more potential than this usage.
What if? I told you that your garage could be a workspace for work, a place to host a guest house, set up your gym, or play games with friends. However, many homeowners didn’t see their garage as such potential because the condition seems old-fashioned, cold, dark and unfinished which didn’t give a feeling like home space.
At this point, you must know how to insulate a garage. Especially, when weather conditions are changing rapidly and affecting the indoor temperature of the garage.
Insulation is the best way to improve your garage condition, balance the inside temperature of your garage and allow you to utilize the space without worrying about the bad temperature.
If your eyes are now open and you are wondering how you can insulate your garage for better usage, then this guide is all you need.
Here, we’ve covered everything about how to insulate a garage, types of insulation, its cost and which type of insulation is best for your garage. So that you can make the most out of this space.
How to Insulate a Garage? – 5 Simple Steps
Here’s the step-by-step process to insulate a garage:
1. Prep the Workspace
The very first thing to do is remove all the equipment and tools hanging on the garage walls. And, if there’s existing drywalls then dispute it.
Also make sure the walls must be clean and free from the stud cavities. You can look for mold and clean up with chemicals like gasoline or fertilizer and let it dry before starting.
2. Inspect Gaps and Cracks in the Wall
Now, it’s time to look for the gaps and cracks in the walls and if there’s any then use expanding foam, shake it properly for a minute then use the straw to fill the gaps around 50% full and let the foam expand, which usually takes 15-minutes.
It’s important to cover all the gaps and completely harden within 8 hours. Otherwise, water seepage can reduce the effect of insulation.
3. Begin Insulation
Let’s start insulating the garage walls. You need a utility knife to cut the insulation sheet vertically to the correct size and then properly place it between the studs. Don’t forget to cut off any excess on the sides. Because the insulation is supposed to fit snugly but not tightly.
Use a staple gun to staple the insulation to the edges of the frame and all the way down the side of the stud, not the face of the stud. So, you need to leave the face of the stud exposed and install the drywall on top of the insulation.
4. Install a Vapor Barrier
You can install a vapor barrier on the room side of the stud. It will protect the insulation from the humidity and moisture.
5. Cover the Insulation With Drywall
Once you’re satisfied with the insulation work, then it’s time to give a finished look with drywalls. Attach the drywall to the studs using coarse-thread drywall screws every eight inches.
Also, you can apply tape, mud and sand to the drywall for a more finished look. Make sure not to leave the paper of the insulation exposed because it’s a fire hazard.
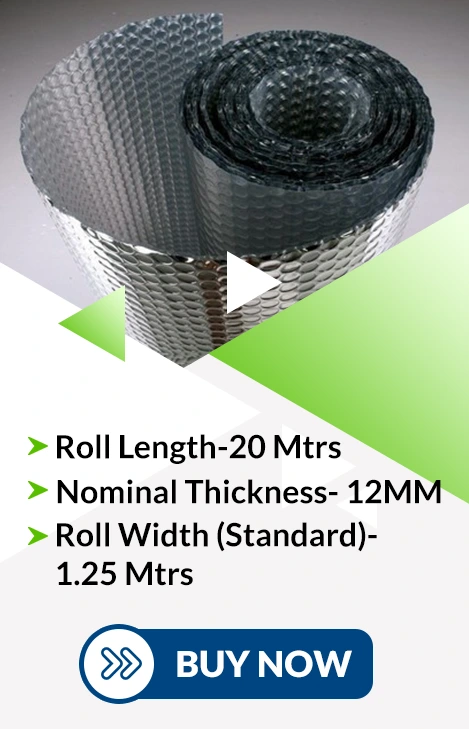
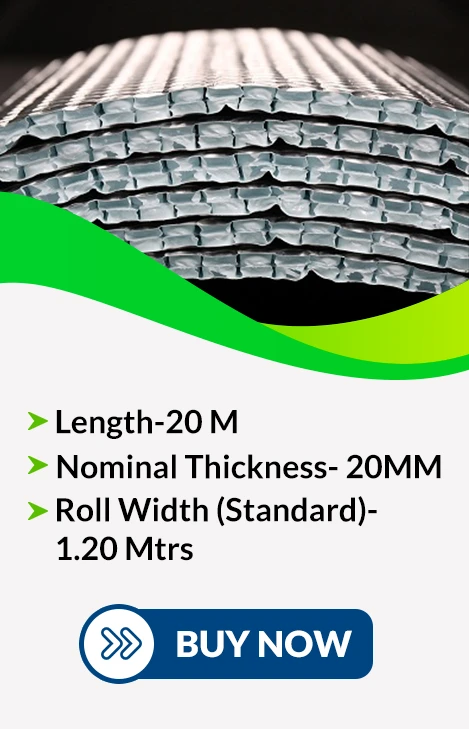
Insulate your Garage With NEO Thermal
What Kind of Insulation is Best For a Garage?
Before beginning the insulation, you should understand that there are different types of insulation available for a garage, and each has its own use case. So, you should identify which type of insulation is best fit for your garage.
Let’s explore each type of insulation and help you find the right one!
1. Heat Resistant
If you are looking for the best insulation for your garage during summer, then a heat resistant sheet is all you need. This heat-resistant sheet is thick and consists of two layers, i.e., aluminum foil and polyethylene foam, which can prevent heat up to 97% in the walls, keep the indoor temperature cool and reduce electricity consumption. These are sustainable and cost-efficient insulation materials that ensure a comfortable template in your garage without high energy consumption.
2. Air Bubble Insulation
Air Bubble Insulation Sheet is also known as bubble wrap. It’s made up of multiple layers of air bubbles between an aluminum foil, which creates an effective barrier to prevent heat up to 96%. It helps to maintain the indoor temperature and is ideally used for garages, basements and crawl spaces. The R-value of air bubble insulation is R-3 and R-5, which makes it one of the best options for cost-effective insulation. It keeps the indoor temperature cool in summer and warm in winter with energy efficiency.
3. Roof Cooling Sheet
Roof Cooling Sheets are best for those areas where the heat goes to its peak. It’s obvious to know that most of the heat comes from the roof in the house, and that’s why a roof cooling sheet is the best solution for them. They’re made up of high solar reflectance index (SRI) and thermal emittance properties, which make them robust insulation to prevent heat during the peak summer and ensure a cool indoor temperature. Plus, it reduces the outer noise to provide a comfortable, cool inside environment.
4. Underdeck Insulation
The under deck insulation is placed beneath a deck to maintain a balanced indoor temperature, reduce the energy consumption up to 50% and reduce noise level. Whether it’s residential, commercial or industrial, this type of insulation is used oftenly, especially for metal or concrete slab roofs.
5. Reflective Insulation Sheets
Another type of insulation is reflective insulation which has multiple layers to create a thermal barrier and resist heat flow inside the temperature. These are made up of fiberglass, foam, air bubbles and the foil faces to ensure air sealed. And reflective insulation also installed as a radiant barrier.
These are the five types of insulation available for your garage. You need to choose the best-fit as per your budget, garage needs, installation process and flexibility.
Buy Thermal Insulation Sheets and Start Saving on Energy Bills!”
Which R-value Should I Use For Garage Insulation?
R-value is one of the key factors that you should consider while choosing the right insulation for your garage because the R-value indicates how effective the insulation is in protecting the indoor temperature from outer space.
A high R-value means the insulation is effective, thick and able to maintain the indoor temperature and reduce the energy consumption. However, you should choose the insulation with R-value based on your garage.
So, maybe your garage doesn’t need the highest R-value to properly insulate. You check the building codes for your climate zone to determine the right R-value for your garage insulation.
- Garage Ceilings: Most households use R-38 insulation for 10” deep rafters and R-30 for 10” deep ceiling joists.
- Exterior Walls: Homes traditionally built with 2×4 studs and filled insulation between R-13 and R-15. However, newer homes have 2×6 studs, which require R-19 to R-21.
- Garage Doors: Modern garage doors come with pre-installed insulation that ranges R-value between 9.3 and 17.5.
How to Insulate My Garage Door?
Here’s the step-by-step process to insulate your garage door:
- Step 1: First, you need to determine your garage door is constructed with which material i.e, steel, wood frame or flat.
- Step 2: Now, choose the right insulation material based on your garage door. If your garage has a steel door or flat then pre-cut foam board is a suitable option, just use double sided tape or glue to insulate the door with the insulated material. Or if its wood frame-and-panel then cut and secure the insulation sheet and stiff properly between the frames.
- Step 3: But make sure that before the insulation, the door is clean from the internal side. It must be free from grease, dirt, and debris. You can use a cloth and clean it properly.
- Step 4: Once it is cleaned then measure the garage door from both side width and height and note down these dimensions. So that you’ll pick the right amount of insulation material for the door.
- Step 5: Now, roll out the insulation sheet and cut as per the door size. So that you can cover the entire area.
- Step 6: To install the insulation on the garage door, you can use double-sided tape or adhesive tape based on the material you’ve used for insulation. Make sure you’re carefully insulating the garage door.
- Step 7. Once the insulation is done properly then check if there’s any gaps left around the door then seal it as well to prevent air leaks. And test the garage door and ensure it opens and closes smoothly after the insulation.
Conclusion
Insulation can literally transform your old unused garage into valuable space that can be used for different purposes, such as the workplace, gym, guest house, and more. We hope this guide helps you know the step-by-step process of how to insulate a garage, its types, and its costs. Now, it’s your turn to find the ideal insulation material for your garage and follow the given steps below. If you are looking for the best insulation sheets for your garage, then check Neo Thermal Insulation, the most trusted brand and best-in-quality insulation sheets. Here, you’ll find the best insulation sheets under your budget with high quality, easy installation and energy saving.
FAQs
1. Does insulating a garage door make a difference?
Yes, insulating a garage door can make a huge difference such as maintaining indoor temperature, reducing the electricity consumption and reducing the outer noise.
2. What is the best way to insulate garage walls?
Installing thermal insulation sheets is the best way to insulate your garage walls. Because these insulation sheets are budget-friendly, maintain the temperature, prevent moisture and are easily installed.
3. Should you insulate your garage ceiling?
Yes, It is important to insulate your garage ceiling. Because most of the heat comes from the ceiling and insulation helps to prevent the heat during summer and maintain a balanced, cool indoor temperature.
4. How to insulate a concrete garage?
To insulate the concrete garage walls, you can use spray foam and inject foam that ensures air seal insulation. However, it’s quite expensive compared to other insulation options.
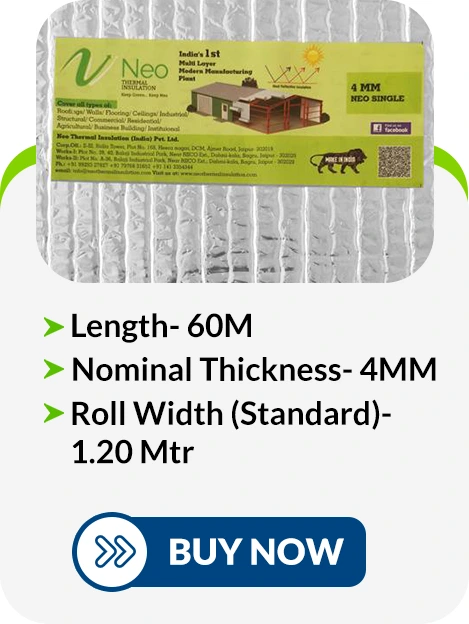
Neo Single
Neo Double

Neo Premium
Neo Premium Plus
Neo Triple Advance