Reflective Insulation Foil: A Smart Solution for Energy Efficiency

Keeping your home or building comfortable can be expensive. It is especially with rising energy costs. Saving energy is now more important than ever.
This is where reflective insulation plays a big role in keeping buildings comfortable while cutting down energy bills. It is one of the best insulation which keeps the indoor keeping spaces cool in summer and warm in winter without depending on electrical items.
So, if you are looking for a cost-effective solution to keep your indoor temperature balanced in changing temperature then Reflective Insulation Sheet can be a one-stop solution.
In this blog, we will understand the role of reflective insulation, how it works, types, benefits and how you can use reflective insulation foil.
What is Reflective Insulation Foil?
Reflective insulation foil is a lightweight material. It is attached to plastic, foam or bubble wrap. This insulation reflects heat instead of absorbing it. Unlike traditional insulation, reflective insulation bounces heat away. This makes the indoor temperature comfortable.
How Reflective Insulation Works?
Reflective insulation bounce heat away instead of absorbing it. It keeps spaces cool in summer and warm in winter. This helps reduce heat transfer. So less energy is needed for heating or cooling. As a result, it lowers energy bills.
Types of Reflective Insulation Foil
Here are three main types of reflective insulation foil:
Single-Sided vs. Double-Sided Reflective Foil
Single-sided foil has one reflective side. It has a backing material like plastic or kraft paper. It works well when heat comes from only one direction. Double-sided foil has two reflective surfaces. It makes it better at blocking heat from both sides. This is useful in attics, walls, and roofs. It is especially where heat moves in different directions.
Bubble Wrap Reflective Insulation
This type has small air bubbles between two layers of reflective foil. It traps air and slows down heat transfer. It is lightweight and easy to install. It makes it great for homes, sheds and crawl spaces.
Foam-Backed Reflective Insulation
This combines reflective foil with a foam layer. It gives extra insulation and durability. The foam adds strength and moisture resistance. It makes it perfect for warehouses, garages and vehicles. It is tougher than bubble wrap insulation. It works well in commercial and industrial buildings.
Insulate your Room With Reflective Insulation Foil
Benefits of Using Reflective Insulation Foil
Here are some major benefits of using reflective insulation foil:
Energy efficiency and reduced cooling/heating costs
Reflective insulation bounces heat away. This keeps indoor temperature balanced in all seasons. It reduces the need for air conditioning or heating. As a result, electricity bills become lower.
Protection against moisture and condensation
Reflective insulation does not absorb water. It acts as a barrier against moisture. It prevents mold and water damage. This makes it great for humid areas. In areas like basements, crawl spaces and metal buildings.
Lightweight and easy installation
This insulation is thin and lightweight. It makes it easy to handle and install. It does not require special tools or professional help. Homeowners can install it themselves. Just with basic tools like a staple gun or tape.
Durability and maintenance
Reflective insulation lasts over 20 years. It does not break down or attract pests. It also does not absorb dust or moisture. So it stays effective with little to no maintenance.
Applications of Reflective Insulation Foil
Here are some key applications:
Residential Homes
Reflective insulation is great for keeping heat out. When used in attics, it bounces the sun’s heat away. It makes rooms below cooler. In walls and floors, it helps keep indoor temperatures stable. This means lower energy bills and a more comfortable home.
Commercial Buildings
Offices and warehouses use reflective insulation. It keeps the indoor temperature comfortable. Large buildings trap a lot of heat, which makes cooling expensive. Installing reflective foil helps bounce heat away. It reduces the strain on air conditioners and saves businesses thousands in energy costs.
Industrial Use
Industrial spaces generate a lot of heat from machines and equipment. Reflective insulation keeps factories cooler. It reduces heat build-up. In warehouses, it helps protect stored goods from extreme temperatures. It prevents damage
to food and temperature-sensitive materials.
Agricultural Applications
In barns and poultry farms, reflective insulation helps keep temperature controlled. This makes conditions healthier and more comfortable. It reduces stress and improves productivity. It is also useful in greenhouses. Because stable temperatures help plants grow better.
Automotive and HVAC systems
Reflective insulation is also used in automotive and air ducts. In vehicles, it reduces heat build-up. It keeps interiors cooler and improves fuel efficiency. In HVAC systems, it helps air ducts maintain the right temperature. It ensures a balanced temperature in all seasons.
Installation Guide: How to Use Reflective Insulation Foil
Here is how you can install reflective insulation:
Step 1. Gather Tools and Materials
Here are some essential tools and materials you need:
- Reflective insulation foil (single-sided, double-sided, bubble wrap or foam-backed)
- Measuring tape
- Utility knife or scissors
- Staple gun or adhesive tape
- Aluminum foil tape
- Safety gloves and glasses
- Ladder
Step 2. Measure the Area
Use a measuring tape to check the size of the area you want to insulate. Write down the dimensions. So, you can cut the insulation to fit properly.
Step 3. Cut the Insulation
Use a utility knife or scissors to cut the reflective foil according to your measurements. If you are covering large areas. Because cutting in sections makes installation easier.
Step 4. Leave an Air Gap
For best performance, there should be at least a ¾-inch air gap between the insulation and the surface. This helps the foil reflect heat properly.
Step 5. Attach the Insulation
Here is how you can attach the insulation:
- If installed on walls or roofs. You should use a staple gun or adhesive tape.
- For attics or between rafters, attach the foil to the edges. So it does not touch the surface directly.
- If using bubble wrap or foam-backed insulation. You may need nails or screws for extra support.
Step 6. Seal the Edges
Use aluminum foil tape to cover all seams and edges. This prevents heat leaks and improves efficiency.
Step 7. Inspect the Installation
Double-check that the insulation is securely attached. It has an air gap and covers the entire area without loose sections or gaps.
Beat the Heat With Reflective Insulation Foil
Common Mistakes to Avoid
Here are some common mistakes to avoid:
- No Air Gap: Reflective insulation needs at least a ¾-inch air gap to reflect heat properly. Without it, it would not work effectively.
- Wrong Side Facing the Heat: The shiny side must face the heat source. If installed incorrectly, it would not reflect heat.
- Ignoring Moisture Risks: In humid areas, trapped moisture can lead to mold and damage. Use a vapor barrier.
- Not Securing the Insulation: Loose or sagging insulation reduces effectiveness. Staple or tape it securely in place.
- Skipping Safety Precautions: Wear gloves and safety glasses. It is especially when working in high places.
Comparing Reflective Insulation with Other Insulation Types
| Feature | Reflective Insulation | Fiberglass Insulation | Spray Foam Insulation |
|---|---|---|---|
| How It Works | Reflects radiant heat away instead of absorbing it | Slows heat transfer by trapping air in fibers | Expands to fill gaps and prevent air leakage |
| Best For | Hot climates, attics, roofs, garages, metal buildings | Walls, ceilings, and floors in mild to cold climates | Sealing gaps, basements, crawl spaces, extreme temperatures |
| R-Value | 1 – 2 (requires an air gap for effectiveness) | 2.2 – 4.3 per inch | Open-cell: ~3.5 per inch, Closed-cell: ~6-7 per inch |
| Air Sealing | Limited; requires additional sealing | Limited; allows some air leakage | Excellent; acts as an air barrier and prevents drafts |
| Durability | 20+ years, does not sag or degrade | 10-25 years, can settle and lose efficiency | 20+ years, rigid and long-lasting (closed-cell type) |
| Installation | DIY-friendly, lightweight, easy to staple or tape | DIY possible, but requires cutting and safety gear | Requires professional installation, complex process |
| Fire Resistance | Non-combustible | Non-combustible but can melt | Varies; fire-retardant options available |
Conclusion
Reflective insulation foil is an easy and affordable way. It keeps buildings cool in summer and warm in winter. Which leads to lower energy bills. It is lightweight, moisture-resistant, and lasts over 20 years with little maintenance. While it is best for hot climates, it can also be used with other insulation for better results. We hope this guide helps you understand the role of reflective insulation foil, its benefits, and how you can install it to get the max out of it.
So, if you are looking for reflective insulation foil then Neo Thermal Insulation is a trusted manufacturing partner that offers superior quality of materials at an affordable price. Contact us today!
FAQs
1. How effective is reflective insulation foil?
It reflects up to 97% of radiant heat, helping to keep spaces cool in summer and warm in winter.
2. Can reflective insulation foil be used in cold climates?
Yes, it helps trap indoor heat. But it works best when used with other insulation.
3. Is reflective insulation foil waterproof?
Yes, it does not absorb moisture and helps prevent mold and condensation.
4. Does reflective insulation replace traditional insulation?
Not always. It works best with other insulation to improve energy efficiency.
5. How long does reflective insulation last?
It can last 20+ years with little maintenance.
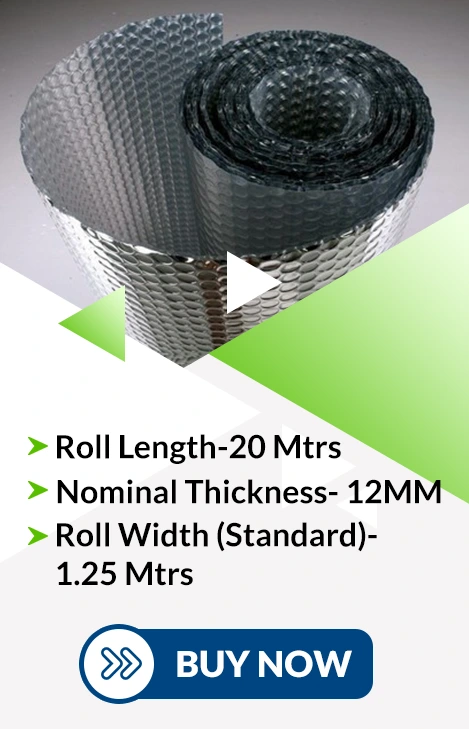
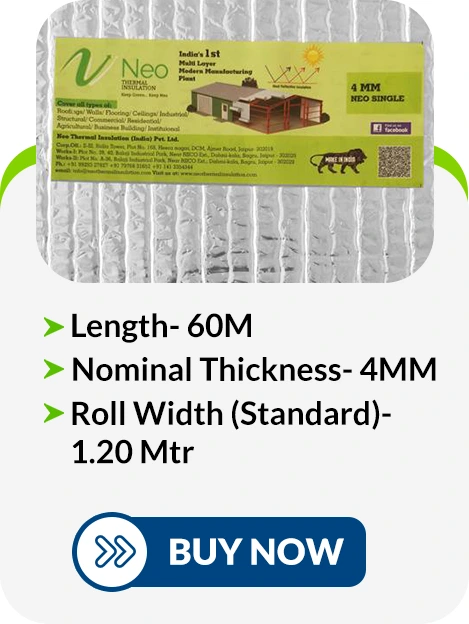
Neo Single
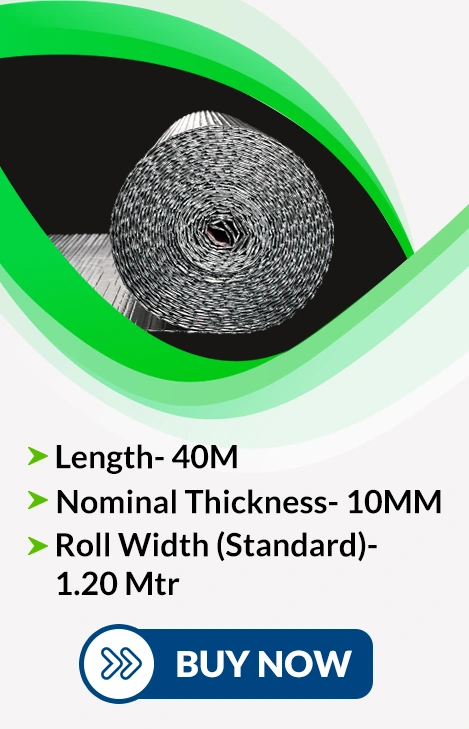
Neo Double

Neo Premium
Neo Premium Plus
Neo Triple Advance