The Ultimate Guide to Roof Bubble Insulation

Did you know? One of the major sources of unbalanced indoor temperature in homes is the roof. Because roofs let heat escape during winter or seep during summer, it is harder to maintain a comfortable environment.
This is where Roof bubble insulation comes in as an innovative and cost-friendly solution to make home energy efficient. This insulation wrap prevents heat flow and creates thermal barriers to maintain a balanced indoor temperature. Which means it keeps the heat inside during winter and outside during summer.
The huge popularity of roof bubble insulation is that it is lightweight, durable, and easy to install for residential and commercial applications. Plus, it plays a crucial role in making buildings energy-efficient because now people don’t need to rely on electronic devices to keep their indoor temperature balanced when insulation will do naturally.
Roof bubble insulation has become a go-to option in every household, but many people aren’t aware of the role of roof bubble insulation and its benefits.
This blog will discuss roof bubble insulation, its importance, benefits and installation process. So, without any further delay, let’s dive in!
Understanding Roof Bubble Insulation
Roof bubble insulation works as a protective layer, where a combination of reflective layers and air bubble wraps are used to stop heat flow from your home. In summer, it prevents heat from entering the home, and during winter, it prevents heat from going outside the home to keep the indoor temperature balanced in all seasons. As air is a poor conductor of heat, the air bubbles trapped in the layers help prevent heat transfer, which enhances the insulation’s effectiveness and ensures a stable indoor temperature
Types of Roof Bubble Insulation
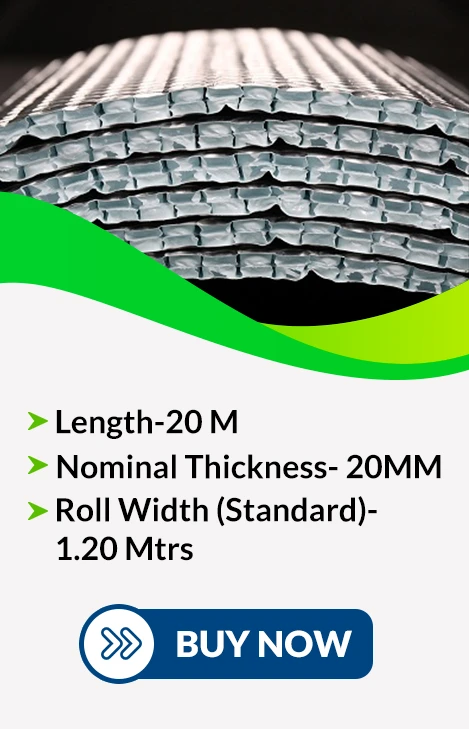
There are mainly four types of bubble insulation:
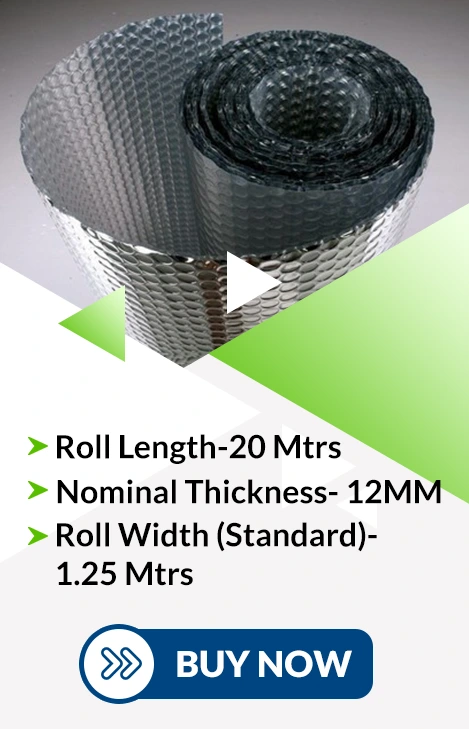
1. Single Layer Bubble Insulation
This type of bubble insulation has only one air-filled bubble layer encased in plastic or foil. It’s lightweight and cost-effective insulation, ideally used for moderate insulation needs.
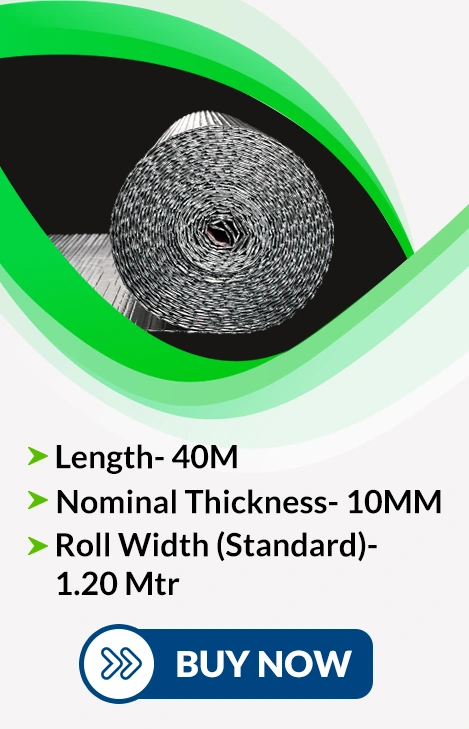
2. Double Layer Bubble Insulation
This type of bubble insulation contains two layers of air bubbles, which provide more effective insulation than a single layer. It’s suitable for areas with extreme temperature fluctuations or higher insulation demands.
3. Aluminum-Coated Bubble Insulation
This insulation has a layer of aluminum coating on the bubbles. It helps reflect the heat more effectively and makes it ideal for hot and cold climates.
4. Non-Coated Bubble Insulation
This type of insulation doesn’t have an aluminum coating. It still provides good insulation but is less effective than the aluminum-coated version.
Benefits of Roof Bubble Insulation
Here are some major benefits of roof bubble insulation:
1. Energy Efficiency
One of the biggest benefits of using roof bubble insulation is that it makes your home energy efficient. This means many homeowners spend too much money on electronic devices to keep their indoor temperature balanced, such as using ACs in summer and heaters in winter. However, roof bubble insulation comes as a one-stop solution to stop heat flow and naturally keep the indoor temperature balanced, which helps to save money on energy bills and improve its longevity.
2. Moisture and Vapor Barrier
Another benefit of roof bubble insulation is that it acts as a moisture and vapor barrier. It helps prevent condensation in the roof space, which leads to mold growth, rot and other moisture-related issues in your home. Keeping moisture out with roof bubble insulation will make your roof structure stronger and have a balanced indoor temperature.
3. Ease of Installation
Roof bubble insulation is very lightweight and flexible, which makes it easy to install. Unlike other insulation materials requiring cutting, shaping and installation experts, it can be smoothly installed on your house’s roof and faster than other insulation.
4. Durability
Also, roof bubble insulation is highly durable and long-lasting… Its materials are resistant to wear and tear, which provide effective insulation and prevent moisture over time. Once roof bubble insulation is installed, it can last for years without needing maintenance or replacements. Its ability to handle extreme heat or cold makes it a reliable and long-term option for homeowners.
Insulate your Roof With NEO Thermal Insulation
Applications of Roof Bubble Insulation
Here are some key applications where roof bubble insulation is used:
1. Residential Roofing
One of the common areas where roof bubble insulation is used is in homes. It can be installed in attics, under metal roofs, and beneath roof tiles. In attics, it helps keep your home cooler in summer and warmer in winter. It reduces heat build-up on metal roofs, making your home more energy-efficient. It’s a simple and cost-effective way to improve comfort and save on energy bills.
2. Commercial and Industrial Spaces
Commercial and industrial spaces like factories, warehouses, and office buildings also utilize roof bubble insulation to control the inside temperature. It helps keep the spaces cooler in summer and warmer in winter, which reduces electricity consumption and saves money for large buildings facing big temperature changes. Roof bubble insulation is required.
3. Special Uses
There are also some special use cases where roof bubble insulation is used, such as in vehicles, RVs, and portable structures, to provide insulation against temperature and noise. RVs and campers, it helps maintain a comfortable climate regardless of the weather outside, while in portable buildings, it ensures energy efficiency and protection from the elements.
Installation Process of Roof Bubble Insulation
Here’s the step-by-step process for installing roof bubble insulation:
Step 1. Prepare the Roof
The first step you need to take before installing the roof bubble insulation is preparing the roof. Make sure to clean the roof surface and keep it free from debris. Clean the surface, you must sweep away any dirt, dust or old insulation. Also, if you find peeling paint or other materials, remove them to ensure bubble insulation fits the surface accurately because a clear surface will perform insulation effectively.
Step 2. Gather Your Tools and Materials
Once you’ve cleaned the surface, then collect the required tools and materials:
- Roof bubble insulation sheets (make sure they’re the right size for your roof)
- Measuring tape (for accurate placement)
- Utility knife or scissors (to cut the insulation to size)
- Staples or adhesive (to secure the insulation in place)
Step 3. Measure the Area
Now, it’s time to measure the roof area with a measuring tape to know how much insulation sheet is required to cover the roof area. So that you can ensure you cut the sheets to the right size.
Step 4. Cut and Place the Insulation
Then, use a utility knife or scissors to cut the insulation as per measurement to cut out the appropriate size. Place the bubble insulation carefully in the desired area on the roof and snug against the roof surface, leaving no gaps between the sheets.
Step 5. Secure the Insulation
Finally, secure the insulation in place using staples or adhesive. You can use a staple gun to attach the insulation firmly to the roof for staples. If you’re using adhesive, then apply a thin layer to the roof before placing the insulation down and pressing it gently into place. Then, ensure the insulation is tightly secured to avoid shifting or sagging.
Common Mistakes to Avoid
Here are some common mistakes to avoid during installation:
- Don’t forget to clean the roof surface before installing.
- You need to measure carefully to avoid wasting material or leaving gaps.
- Avoid overlapping insulation too much; it can trap air.
- Make sure there are no gaps between the insulation pieces.
- Use the right adhesive or fasteners to keep insulation secure.
- Ensure the reflective side is facing the right way for the best results.
Comparing Roof Bubble Insulation with Other Insulation Types
Let’s take a quick comparison between roof bubble insulation and other insulation types:
| Roof Bubble Insulation | Fiberglass Insulation | Spray Foam Insulation | Reflective (Foil-based) Insulation | |
|---|---|---|---|---|
| Application | Roofs, attics, metal roofs, garages, walls | Attics, walls, floors, ceilings | Walls, attics, roofs, basements | Roofs, attics, walls, crawl spaces |
| Performance (R-Value) | R-2.5 to R-3.5 per inch of thickness | R-2.2 to R-4.3 per inch | 3.5 to 7.1 per inch | R-2 to R-10 |
| Eco-Friendliness | Recyclable but not highly eco-certified | Made from recycled glass, energy-intensive production | Eco-friendly options available (e.g., soy-based), but traditional foam has a high impact | Often recyclable, but energy-intensive to produce |
| Cost | Low to moderate (affordable) | Low to moderate (affordable) | High (requires professional installation) | Low to moderate (affordable) |
| Pros | Lightweight, easy to install, moisture-resistant, cost-effective | Good thermal resistance, fire-resistant, widely available | Highest R-value, seals gaps, excellent air barrier | Reflects heat, works well in hot climates, easy to install |
| Cons | Lower R-value, not ideal for extreme climates | Irritates skin, loses effectiveness when wet, needs professional installation | Expensive, requires professional installation, off-gassing concerns | Limited effectiveness in cold climates, not ideal for heat loss |
Cost Considerations
Let’s break down the cost of installing the roof bubble insulation:
Initial Investment
The initial cost of roof bubble insulation depends on the size of your roof and the type of material you require. Roof bubble insulation is generally affordable compared to other materials under budget.
Long-term Savings
Roof bubble insulation may take an initial investment. Still, in the long term, it will save your electricity bills because it will reduce the use of electronic devices and keep the indoor temperature naturally balanced.
DIY vs. Professional Installation
There are two ways to install roof bubble insulation: by yourself or by hiring a professional. If you do it yourself, you can save money because it’s easy to install roof bubble insulation, which is lightweight and easy to handle. However, hiring professionals ensures insulation is installed properly and ensures the work is effective. DIY is cheaper, but hiring professionals will save you money in the long run.
Maintenance and Longevity
Roof bubble insulation is a durable and low-maintenance solution, but regular care can help keep it last long. Here are some wear and tear signs to keep looking for:
1. Tears or Punctures: You need to check for any holes or rips in the insulation sheets that could reduce their effectiveness.
2. Moisture or Mold: You can inspect for signs of dampness, mold or mildew, especially in areas where water might have seeped.
3. Sagging or Loose Sheets: Ensure the insulation is firmly attached and hasn’t shifted or sagged over time.
Tips for Roof Bubble Insulation Longevity
Here are some useful tips to extend its lifespan:
- You should fix leaks immediately to stop water damage.
- You should check regularly for tears or sagging.
- Keep the roof clean by removing dirt and debris.
- Make sure the insulation is secure with proper fasteners.
- Replace loose staples or adhesives if needed.
- Ensure good ventilation to prevent moisture build-up.
Conclusion
Roof bubbles are energy-efficient and affordable options for residents and commercial areas. It helps prevent heat flow in both summer and winter to keep the indoor temperature balanced and comfortable for living. However, installing bubble wrap insulation requires various things to consider. We hope this guide helps you understand everything about roof bubble insulation, its types, benefits, and installation process so that you can make informed decisions.
So, if you’re looking for an energy-efficient solution, consider roof bubble insulation. But make sure you’re choosing material from trusted partners, like Neo Thermal Insulation, to find the best insulation materials at an affordable price.
FAQs
1. What is the R-value of bubble insulation?
Bubble insulation has an R-value ranging between R-1.17 to R-3.70 per inch, depending on its thickness.
2. Is bubble insulation fire-resistant?
No, bubble insulation is not inherently fire-resistant, but some types are coated with fire-resistant materials for added protection.
3. Can bubble insulation be used in extreme climates?
Yes, bubble insulation can be used in hot and cold climates, but it may be more effective in moderate climates.
4. How do I know if my roof is suitable for bubble insulation?
Most roofs are suitable but check for clean, dry surfaces. And ensure there are no significant structural issues before installation.
5. Does bubble insulation require additional layers for effectiveness?
In some cases, adding multiple layers or combining them with other insulation types can improve effectiveness.
6. How does bubble insulation affect indoor air quality?
Bubble insulation does not directly affect air quality. However, it helps maintain a stable temperature, reducing moisture buildup and improving indoor comfort.
7. What are the environmental impacts of bubble insulation?
Bubble insulation is recyclable and has a relatively low environmental impact compared to other insulation types.
8. How long does roof bubble insulation typically last?
Roof bubble insulation can last 7 to 12 years or more with proper maintenance.
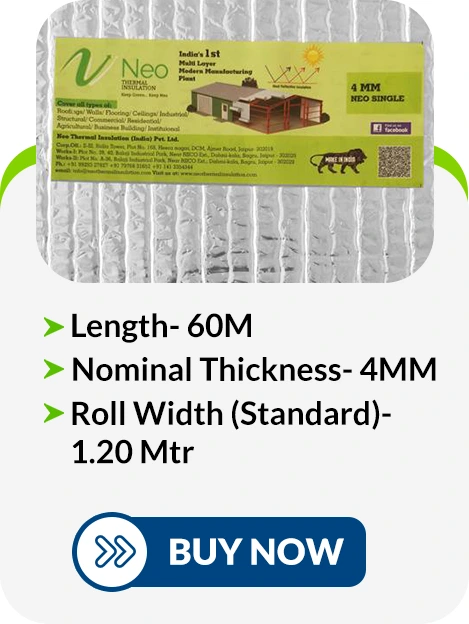
Neo Single
Neo Double

Neo Premium
Neo Premium Plus
Neo Triple Advance