Shed Insulation – A Complete Guide
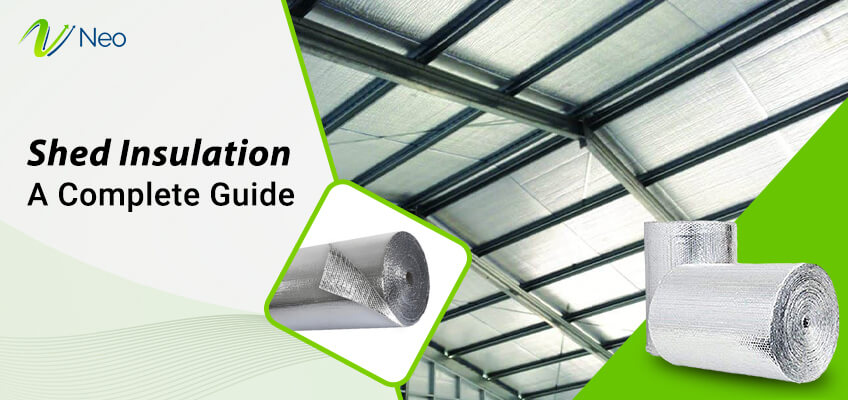
Have you ever wondered how to insulate a shed but didn’t know the process? Well, in that case, you have landed on the right platform. This comprehensive guide on will provide you with all the tips and tricks you need to know about shed insulation, right from the shed insulation installation process to providing the necessary details regarding the materials you can use to complete your project. We have covered all, so read the full article to insulate a shed like a pro!
What is Shed Insulation?

We all know that throughout the year, the outdoor temperatures can vary widely. Without insulation, sheds get excessively cold in winter and extremely hot in summer. Insulation in simple words is like a barrier between the inside and outside of your shed. When we insulate a shed, it stays cool in summer and retains heat in winter.
What are the Benefits of Shed Insulation?
While the shed insulation process may seem like a tedious job, the benefits are well worth the effort. Insulation in shed can keep the temperature of your interior more consistent, hence protecting any items from extreme heat or cold you have stored inside.
Secondly, insulated sheds prove to be more energy efficient and therefore save you money on your cooling and heating costs. Further, insulation in the shed reduces condensation and moisture build-up, both of which can lead to rot and mould.
Another reason why insulation for sheds is extremely beneficial is that when it comes to storing weather-sensitive equipment like tools or boxes you need a suitable temperature that can be achieved via shed insulation.
Lastly, if you are an animal lover and love to keep animals then it is a great idea to install some shed insulation to make sure that your pets are safe and comfortable. Regularizing temperatures for your pets can keep them healthy and fit for a longer duration.
Besides these, there are many more benefits such as:
- You can protect your metal tools from dampness and therefore from rust
- Your shed becomes a cozy place where you can work easily all year round
- Helps in keeping away pests and mould
- Electrical devices are free from moisture
- Perishable items like paint will last longer
- As an extra room to the house, sheds can be used as gyms, game rooms and home offices
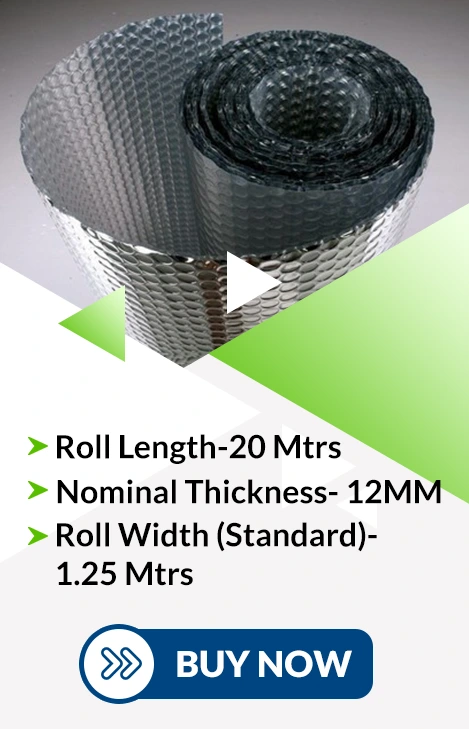
Looking For Shed Insulation?
What are the Applications of Shed Insulation?
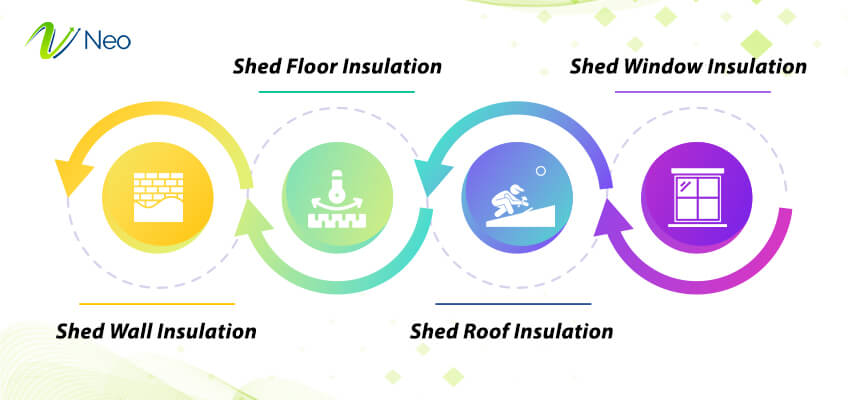
There are various forms of applications of shed insulation. Contact Neo Thermal Insulation as we are one of the famous insulation manufacturers in India providing thermal insulation and shed insulation installation services at pocket-friendly prices:
Shed Wall Insulation
Neo Thermal provides heat insulation sheets that prevent heat loss and create an energy-efficient space. The space created would be free from any unwanted noise and weather disturbances. Consider buying products from Neo Thermal and see the magic
Shed Floor Insulation
Neo Thermal Insulation brings a promise of the industry’s best shed floor insulation product for our customers. Floor insulation locks the heat inside the room by preventing it from escaping from the floor in winter. Thus, a warmer and more comfortable temperature can be maintained inside the particular space.
Shed Roof Insulation
When is comes to roof insulation sheets, shed roof insulation is the best choice that can help you get rid of external temperature as well as noise disturbance. We deliver the best shed roof insulation services all over India at a very competitive price.
Shed Window Insulation
Our Shed Window solutions bring double-pane window designs that make the window area well insulated. It prevents the window from getting cold enough which can cause condensation.
What is the R-value for Shed Insulation?
A subject called the R-value must be understood in order to understand what the best shed insulation is. Simply put in words, R-values can measure the rate at which insulation can prevent the flow of heat into and out of your shed or home. A higher R-value indicates higher insulation performance.
So how do we measure various sorts of insulations for R-value? Well, there is a formula for finding the R-value that we’ll be discussing below:
R = ∆T ÷ Heat Flux Through Barrier.
Understanding this equation is slightly complicated. The symbol ∆T indicates your insulation thickness and “heat flux through barrier” signifies the thermal conductivity measure in your insulation.
The best part is that you no longer need to understand this formula as most insulations by default come with the R-value calculated we just need to input the square footage of our shed and it will tell us the exact amount we need.
R values vary according to the types of insulation. However, in general, the most suitable R-values for your insulation can anywhere range between R-13 and R-23.
How to Install Shed Insulation?
Follow these steps if you want to know how to install shed insulation and do the job like a pro:
Step 1 – Perform shed assessment
The first step that comes under the shed insulation process is the assessment of your shed’s current condition. Do the inspection to check for any existing insulation, signs of leakage or any other potential problems for that matter. If you analyse the unique characteristics of your shed deeply, then it will help you plan the insulation project more strategically.
Step 2 – Choosing the right insulation materials
To run a successful insulation project, choosing the appropriate insulation material is mandatory. Several options are available such as foam board, fiberglass, spray foam, and more. So, depending on your requirements, you need to analyse various factors like climate, your budget and the intended use of the shed while making your selection.
Step 3 – Arranging the desired materials and tools
Every physical job requires some tools and materials just like installing insulation for sheds. Even cheap shed insulation requires some basic tools to perform the job. Common items include vapor barrier, insulation material, adhesive caulk, utility knife, nails or screws. Keep everything ready in advance to save your time and money.
Step 4 – Preparing the shed
The next step is to prepare the shed in the right manner. Clean the shed and make it free from any moisture or dampness. If there are any leakages or cracks, make sure they are properly fixed. Also, check whether or not there are any gaps in the roof and walls. Consider installing a vapor barrier to prevent condensation and moisture build-up.
Step 5 – Insulate your walls
Start the installation process by insulating your shed walls. Prepare the insulation material by cutting it in the right shape so that it fits into the wall cavities. Create an airtight barrier by sealing any gaps with caulk or tape. Following this step is mandatory if you want to regulate the temperature inside the shed.
Step 6 – Insulate your ceiling
Insulating your ceiling is very important if you plan to use your shed annually. Just like the walls you need to prepare your thermal insulation material by cutting it in the right shape so that it fits in the roof cavities. As heat rises, you need to control temperature and that can be achieved via roof insulation
Step 7 – Floor Insulation
Insulating the floor can be done depending on the intended use of your shed. Insulating the floor helps in maintaining a comfortable temperature and prevents cold drafts. Make sure that you use good quality materials as using bad quality stuff can deteriorate your structure. Buy premium Insulation materials from Neo Thermal at affordable prices.
Step 8 – Sealing all cracks and gaps
Effective insulation can only be achieved if there are no cracks or gaps in the ceiling. To achieve that, seal all sorts of cracks and gaps by using caulk or spray foam. Proper ceiling ensures energy efficiency and comfort.
Step 9 – Make wall coverings
After insulating and ceiling, you may add wall coverings like drywall, panelling or a weather-resistant finish to complete the look. This adds an extra layer of protection. Consider adding a 6mm vapor between the insulation and any finish material.
Step 10 – Adding cooling and heating systems
In extreme weather conditions, you may add heating or cooling systems for maintaining an environment that is nice and cozy.
Upgrade Your shed’s Comfort and Protection Today!
Conclusion
Now that you know so much about shed insulation, it becomes easier for you to make the right insulation purchases for your building. Note down the following – your shed size, your budget, and how you plan to use your shed. These factors must be kept in mind while making the purchases. After purchases are done, the next step is to do the installations which sometimes is a very daunting task, especially if you know nothing about shed insulation.
So, if you are a newbie and want to purchase and install a shed for your home or building then contact Neo Thermal as we offer a large variety of premium-quality sheds. Further, we also provide shed installation services at affordable prices. So, get in touch with us to build the shed of your dreams.
Frequently Asked Questions
1. How does shed insulation work?
A lot of heat is absorbed by the metal roofing and is then radiated in the inward direction. This increases the internal temperature. Shed insulation helps in slowing down the heat transfer by reflecting the radiant heat away. It works on the principle of slowing conductive heat flow and convective heat flow.
2. How thick is shed insulation?
When we talk about shed wall insulation, a good R-value should range anywhere between R-13 and R-23, depending on whether you are using 2x4s or 2x6s for your shed walls. In terms of ceiling, choose between R-30 and R-49. For shed floors and crawlspaces, anywhere between R-13 and R-30 would be sufficient.
3. How do I choose the right insulation for my shed?
To choose the right insulation for your shed you must hire an experienced insulation company like Neo Thermal and get your installation done of spray foam insulation. Properly installed spray foam provides a high R-value and eradicates any chances of air infiltration as it fills all the voids, even the tiniest ones.
4. How long does shed insulation last?
Under ideal conditions, usually shed insulations can last for decades. However, the timeline can squeeze or expand depending from situation to situation. For example, in some homes shed insulation may last for a century whereas in some homes it may require upgraded insulation every fifteen years.
5. Does shed insulation need an air gap?
Yes, there should be an air gap between the insulation and the shed wall. This will help in controlling moisture and keeping your shed healthy and dry. Surely, leaving an air gap can significantly improve the insulation’s effectiveness.
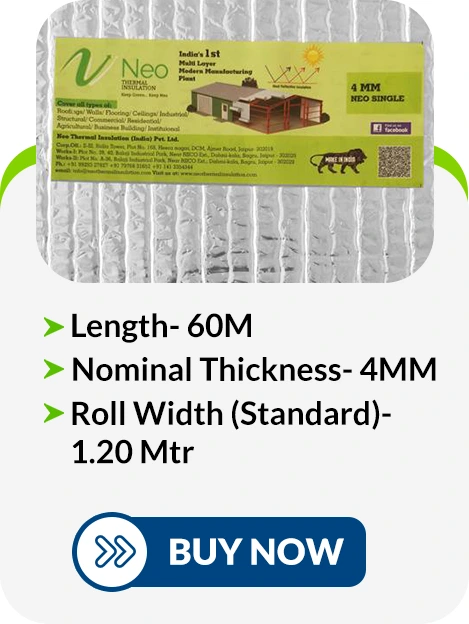
Neo Single
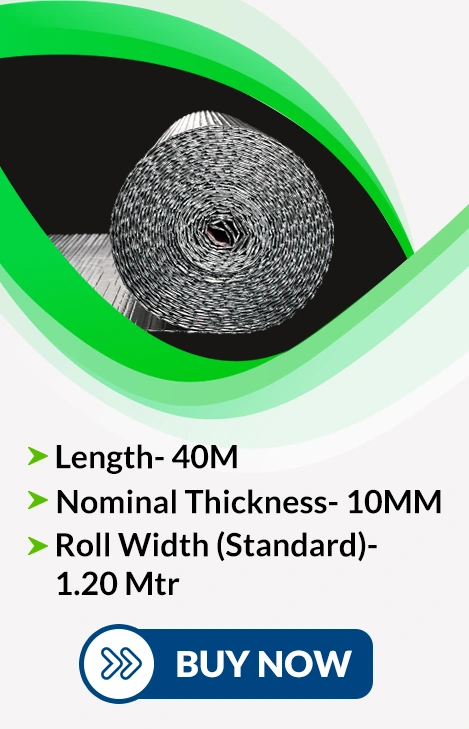
Neo Double

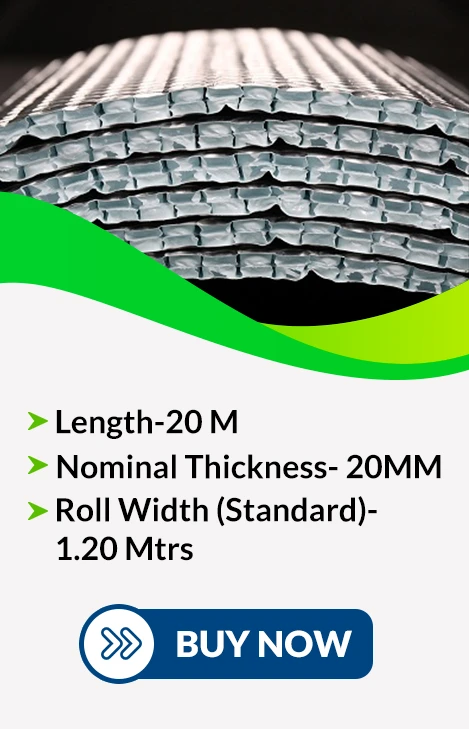
Neo Premium
Neo Premium Plus
Neo Triple Advance