When it comes to finding an effective way to keep your home’s temperature balanced then Aluminum foil insulation is one of the best solutions. It’s an affordable, easy-to-install material that helps keep your home cooler in the summer and warmer in the winter.
Despite its numerous benefits, many people aren’t aware of the true potential of aluminum foil insulation. No worries!
So, if you’re trying to lower your electricity bills or want a cost-effective way to maintain your indoor temperature, this blog will help you find an easy way.
In this blog, we will understand everything about aluminum foil insulation, its benefits, how you can install it and its estimated cost. Let’s dive in!
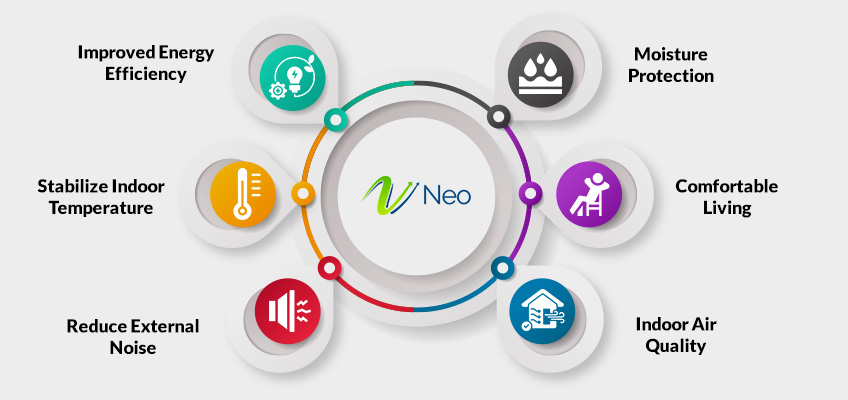
Benefits of Using Aluminum Foil Insulation
Here are some key benefits of using aluminum foil insulation:
1. Energy Efficiency
Aluminum foil maintains your home at a pleasant temperature. In the summer, it bounces the heat back off of you. So, things remain cooler. In the winter, it keeps the warmth in. This saves you money and energy by minimizing your heating and cooling requirements.
2. Cost-Effective
It is an affordable method to insulate. Aluminum foil is a great purchase for increasing energy efficiency without having to pay a lot of money upfront. It is cheap and it saves on long-term energy costs.
3. Easy Installation
Aluminum foil is lightweight and it is simple to install. It can be trimmed easily to fit into tight spaces and most individuals can install it. It is a cost-saving labor option that you can do yourself.
4. Moisture Resistance
Aluminum foil is not absorptive and is a vapor barrier. This will keep mold from developing and guard your home against water damage. It is especially in damp places such as basements or attics.
5. Durability
Aluminum foil is also long-lasting. It would not corrode, rust or deteriorate over time. So you would not need to replace it as often. It can last for decades, delivering long-term performance.
6. Versatility
You can put aluminum foil insulation in almost any area. It may include attics, walls, floors, ceilings and even ducts. It is a great option for homes, businesses and even industry. Its pliability makes it easy to apply in almost any area.
Different Ways to Use Aluminum Foil Insulation?
Whether it is floor, roof, walls, attics, or HVAC ducts, aluminum foil has numerous uses. The sheet will be your best partner in the fight against thermal inefficiency, moisture and structural damage. The variety of applications of aluminum foil insulation are listed below.
1. Walls:
It is very easy to install insulation sheets on walls and between wall studs because of its durability and flexibility. It can be precisely attached to the interior and exterior surfaces of the wall. It have air bubbles trapped between two metallic layers that prevent heat loss and gain using walls. It also serves as a barrier against moisture and prevents water vapors from causing damage to the walls.
Looking To Insulate Your House?
2. Roof:
Aluminum Insulation Sheet is one of the best methods to prevent heat loss through walls. It can be applied either under roof rafters or on the roof deck to create a blockade against radiant heat transfer. It reflects away the solar heat to keep interiors cool and lessen the cost spent on electric appliances. It also prevents mildew and mold growth.
Seeking a Reliable Thermal Insulation Company?
3. Floor:
Heat loss through floors is a serious concern for many people. However, installing it over and under floors will help in improving overall efficiency. It is more beneficial for places with raised floors and buildings where unheated spaces are present like basements and crawls. Aluminum foil for heat insulation helps in maintaining the desired indoor temperature and enhances energy efficiency as it evenly distributes heat.
4. Ceiling:
It can be effectively used for insulating ceilings and prevent thermal loss. It acts as a barrier between the ceiling surface and surroundings and curtails radiant heat transfer. Additionally, it inhibits moisture and vapor from entering through the surface and damaging the structure. It aids in maintaining comfortable indoor temperatures and lessens the load on electronic appliances.
5. HVAC duct:
Heating, ventilating, and air-conditioning ducts provide space for heat loss and gain through air entering the duct. It is necessary to insulate these ducts to ameliorate thermal efficiency. Apart from this, the aluminum insulation also restrict the implication caused by condensation on the surface of ducts.
6. Pipes:
Hot and cold water supply pipes need to be insulated to prevent heat loss and heat gain. It checks water pipers from becoming too cold in winter and too hot in summer and helps in maintaining desirable water temperatures in all weathers. It also reduces energy consumption.
7. Windows and Doors:
Openings like windows and doors need to be insulated to maintain appropriate indoor temperature. Aluminum foil that is Heat Reflective Sheets should be installed on the window and door frames. This curtails radiant heat transfer between the room and the surroundings and unwarranted air leakage.
Step-by-Step Installation Process of Aluminum Foil Insulation
Below are the easy steps to install the aluminum foil insulation:
Step 1. Clear the Area
Before you begin, make sure the area is dry and clean. Clear out any obstructions, debris, or dust. Make sure there is no mold, leaks or moisture. And resolve these issues first to give the insulation a chance to do its job. Proper ventilation must also be ensured to prevent moisture build-up. This is especially true in tight spaces such as attics.
Looking To Insulate Your House?
Step 2. Trim and Measure the Foil
Measure the area to be insulated, such as a wall or attic. Then, cut the aluminum foil with a utility knife or scissors to the appropriate sizes. Measure carefully to achieve the right fit so that the foil will fit snugly in position without shortage or surplus.
Step 3. Place the foil carefully
Once the foil is trimmed, place it in position. For attics, put the shiny reflective side outward to reflect heat. In walls or ducts, push the foil tightly into corners and edges without wrinkles. Overlap seams as necessary to seal openings.
Step 4: Secure the Edges
Once you have positioned the foil, tape or stick the edges down with adhesive, ensure the edges are well-stuck and without any gaps, as this will impair the efficiency of the insulation. Ensure that the foil is well-stuck and smooth.
Step 5. Review and Finish
After you have installed the foil and locked it, double-check to make sure that everything is properly installed. Inspect for wrinkles or loose spots that might have formed during installation. If all goes well, your aluminum foil insulation is complete.
Pricing for Aluminum Foil Insulation in 2025
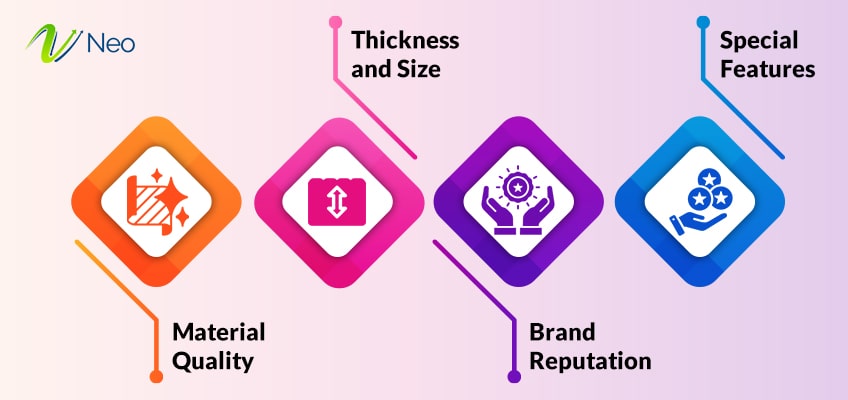
Pricing for aluminum foil insulation depends upon a variety of factors. Factors like location, the complexity involved in the installation, quality of the material, market demand and supply are some of the main points that impact the pricing for aluminum foil insulation.
Location:
Location plays a very vital role in determining the prices of aluminum foil insulation . The prices vary according to different countries and regions. Additionally, local market factors like manufacturing costs, transportation overheads, standard of living, and construction rates have an important say in fixing prices. The prices are higher in the regions where availability is low and demand is high and vice-versa.
Complexity in Installation:
Installation complexities affect the overall price of aluminum foil for heat insulation. If specialized skills, equipment, and additional materials are required in the installation process then the cost of the overall project goes up. Other factors like the total area required to be covered and accessibility also affect the price. Sometimes unique challenges also affect installation complexity and price.
Quality of the Material:
What kind of aluminum is used and what is the thickness of the sheet affects the cost. High-quality material with high durability and flexibility is sold at high prices. Material with exceptional thermal properties with moisture and fire resistance impacts the pricing of aluminum foil insulation.
Market forces:
Market forces, demand, and supply affect the pricing of aluminum foil insulation. When demand is high (during peak construction period) and supply is less then the price of the material goes up. However, when demand is low and supply is abundant then the price of the material goes down, and in this kind of period, suppliers try to adjust the prices so that customers get attracted.
Brand:
The reputation of the supplier and the authenticity of the brand have much to say in the pricing of aluminum foil for insulation. Brands that are established in the market and have an effective performance track record command high prices in comparison with local and less-known suppliers. Established brands also provide on-time customer support and expert guidance, these factors offer peace of mind to the customers and assurance regarding the product.
Quantity:
If insulation sheets are purchased in bulk or ordered in large quantities then suppliers will offer large amounts of discount. When construction companies buy under wholesale pricing it costs them less in comparison to purchases when an individual buys it in small quantity.
Seeking a Reliable Thermal Insulation Company?
Seeking professional help when insulating with foil is worth it to avoid costly mistakes. So, if you are looking for a good thermal insulation firm, then here are some key factors to watch out for:
1. Experience and Expertise
Select an experienced company, particularly if you are using aluminum foil. Professional companies understand how to install insulation correctly. They can take care of any issues that arise, ensuring the job is done once.
2. Quality of Materials
Not all insulation materials are equal. Higher-quality materials are stronger and work better. Ensure that the company uses strong insulation foil that reflects heat and maintains your home warm throughout the year.
3. Project Portfolio and Case Studies
A good company should show prior work. This helps you see what they have done and if they have done work like that. You can look through their portfolio to see the kind of work they can accomplish.
4. Customer Reviews and Testimonials
Read feedback or ask for testimonials from past clients. You will be satisfied with your choice after listening to what others have to say. Good feedback gives you confidence that the company does great work.
5. Cost and Budget
Get quotes from different companies and compare prices. Make sure the quote falls within your budget and also ask for any extra charges. A good company will provide you with a clear, itemized quotation and perhaps offer a warranty.
6. Communication and Customer Service
Good communication is important. Select a company that is simple to contact and responds to calls/questions in a timely manner. Open communication keeps the project progressing, and you’re kept informed. Excellent customer service indicates they value your satisfaction.
Neo Thermal Insulation is a one-stop platform for those who are looking for high-quality insulation material at affordable prices. Contact Us today!
Conclusion
Overall, Aluminum foil insulation is an affordable way to keep your home comfortable. It helps keep your house cool in summer and warm in winter without spending time naturally. We hope this blog helps you understand the role of aluminum foil insulation, its benefits, the factors to finding a company, and the steps to install aluminum foil insulation with its estimated cost. Now, it’s your turn to find an experienced thermal insulation company and let the professional install high-quality aluminum foil insulation at an affordable price.
FAQs
1. How long does aluminum foil insulation last?
Aluminum foil insulation is durable and can last for many years. It is often up to 20 years or more. It mainly depends on the conditions in your home. It does not rust or degrade over time. So you would not need to replace it frequently.
2. Can aluminum foil insulation be installed DIY or should it be professionally done?
Yes, aluminum foil insulation is easy to install and can be a DIY project if you are comfortable with basic tools and measurements. Then, you can do it yourself. However, if you are unsure, hiring a professional ensures it is done correctly and efficiently without a costly mistake.
3. What are the environmental impacts of using aluminum foil insulation?
Aluminum foil insulation is relatively eco-friendly. It is made from recyclable materials. And it helps reduce energy consumption by improving your home’s insulation. However, like any product, it is important to dispose of it properly when replacing it, as aluminum recycling is key to minimizing its environmental impact.